Web Dynpro - Creating an Application
To create a Web Dynpro application, we will create a Web Dynpro component that consists of one view. We will create a view context → linked to a table element on the view layout and contains the data from the table.
The table will be shown in the browser at runtime. A Web Dynpro application for this simple Web Dynpro component, which can be run in the browser will be created.
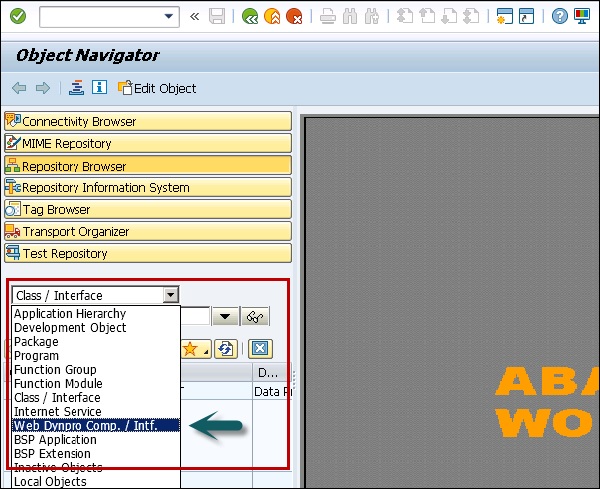
Step 1 − Go to T-Code − SE80 and select Web Dynpro component/intf from the list.
.jpg)
Step 2 − Create a new component as the following.
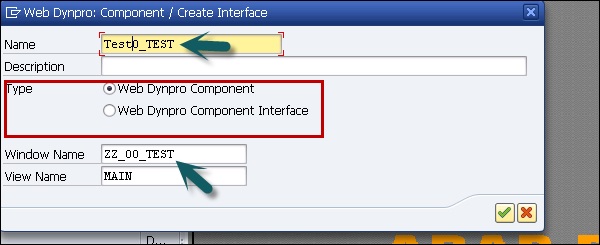
Step 3 − Enter the name of the new component and click on display.

Step 4 − In the next window, enter the following details −
- You can enter a description of this component.
- In type, select a Web Dynpro component.
- You can also maintain the name of the default window.
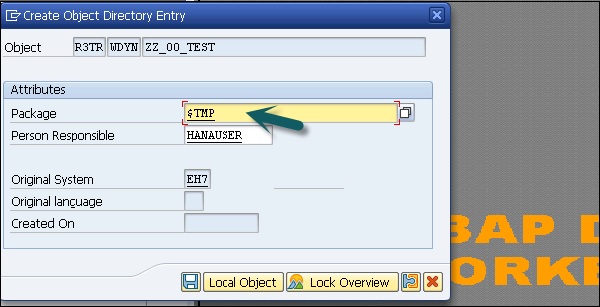
Step 5 − Assign this component to Package $TMP and click the Save button.
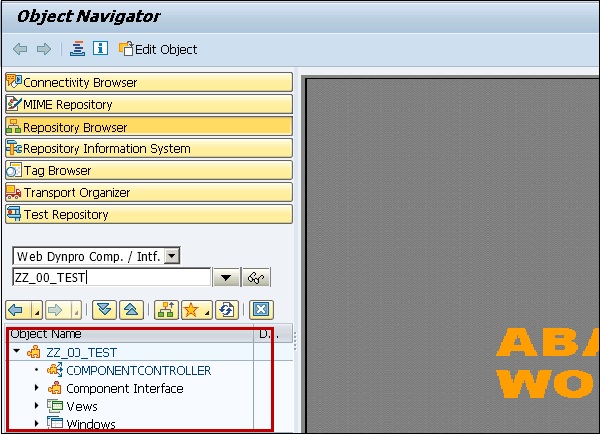
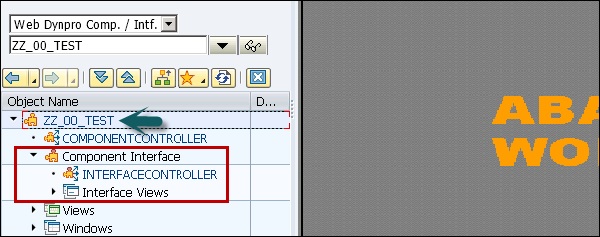
When you click Save, you can see this new component under the object tree and it contains −
- Component Controller
- Component Interface
- View
- Windows
When you expand the component interface, you can see the interface controller and interface views.
How to Create a View and Assign It to a Window?
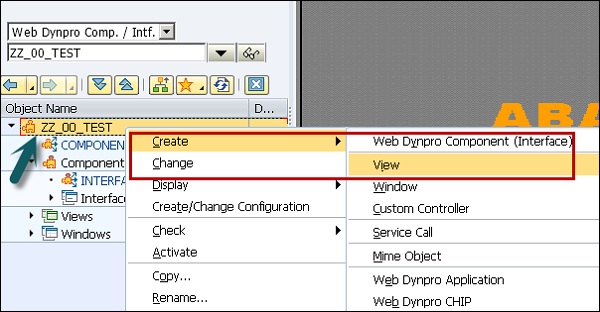
Step 1 − Click on the Web Dynpro component and go to the context menu (right click) → Create → View
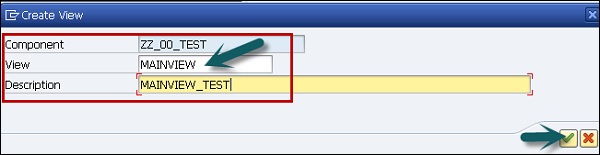
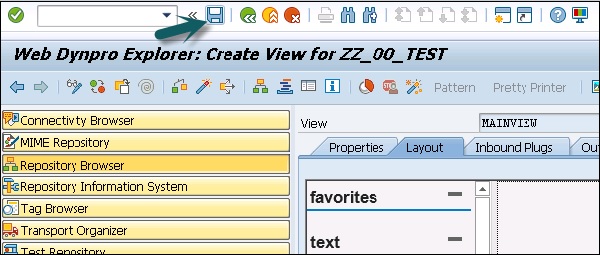
Step 2 − Create a view MAINVIEW as the following and click on the tick mark.
This will open view editor in ABAP workbench under the name − MAINVIEW
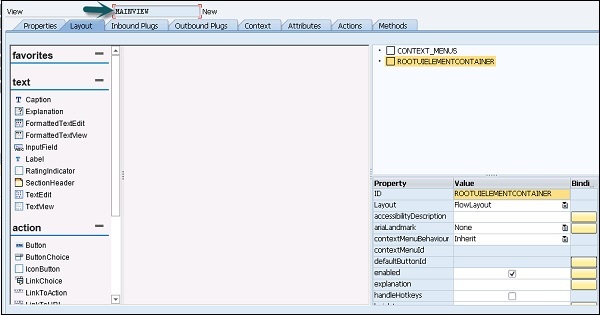
Step 3 − If you want to open the layout tab and view designer, you may need to enter the application server user name and password.
Step 4 − Click the save icon at the top.

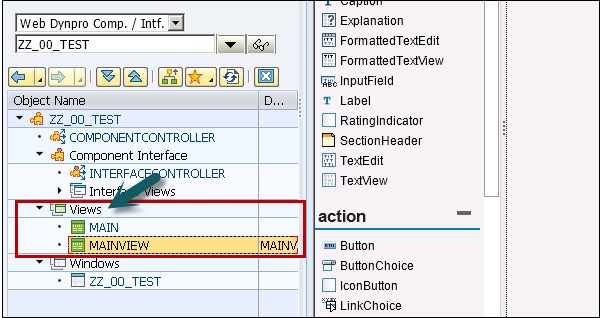
When you save, it comes under the object tree and you can check by expanding the view tab.
Step 5 − To assign the window to this view, select the window ZZ_00_TEST under the window tab and click on Change mode at the top of the screen.
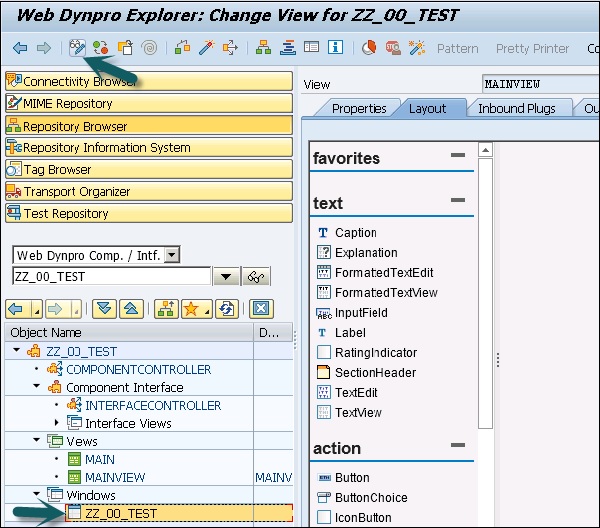
Step 6