Web Dynpro - SAP List Viewer(ALV)
The layout will appear as shown in the following screenshot −
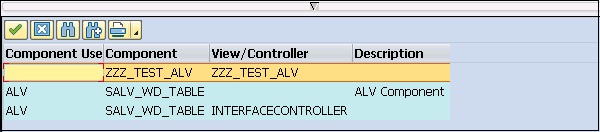
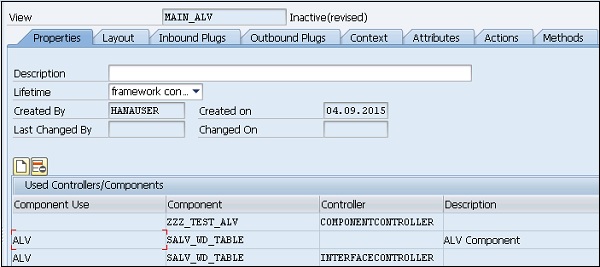
Step 11 − Go to Properties tab, click create controller usage to add the following to View.
Step 12 − Go to method, use WDDOINIT to write code.
Step 13 − Double-click on the method to enter the code. Enter the following code and initiate the used component ALV.

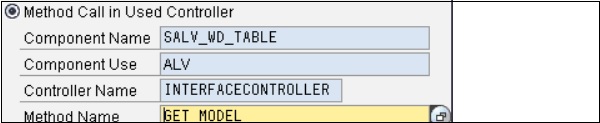
Use GET_MODEL method in the controller.
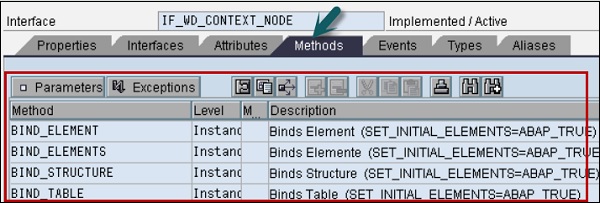
Step 14 − Bind the table to the context node using BIND_TABLE method as follows −
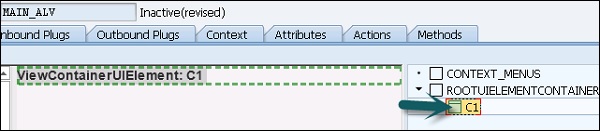
Step 15 − Go to Window in the Object tree and right-click C1 to embed ALV table to the view.

Once you embed the ALV table, it will appear like this −

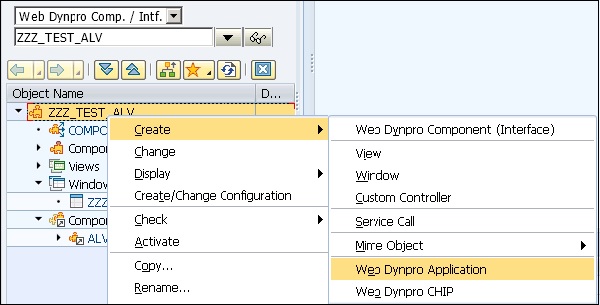
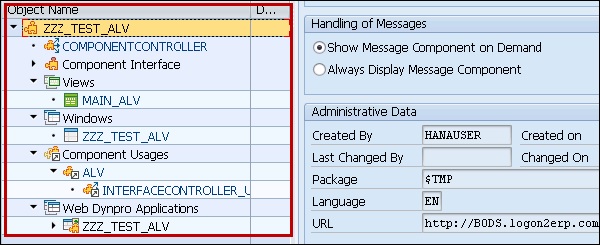
Step 16 − The last step is to create a Web Dynpro application under the object tree. Enter the name of the application.
Step 17 − To execute application, double-click and you will see the output.

Using Filters in ALV Output
Using filters, you can limit the data in ALV output. You can create multiple number of filter conditions for each field. To create or delete a filter condition, you can use the method of interface class IF_SALV_WD_FILTER.
You can use the following methods for creating, getting, and deleting filter conditions −
| Function | Method |
|---|---|
| Get a specific filter condition | GET_FILTER_RULE |
| Get all filter Conditions of a field | GET_FILTER_RULES |
| Create filter condition | CREATE_FILTER_RULE |
| Delete a specific filter condition | DELETE_FILTER_RULE |